ThermaCote® - Applying It To Surfaces
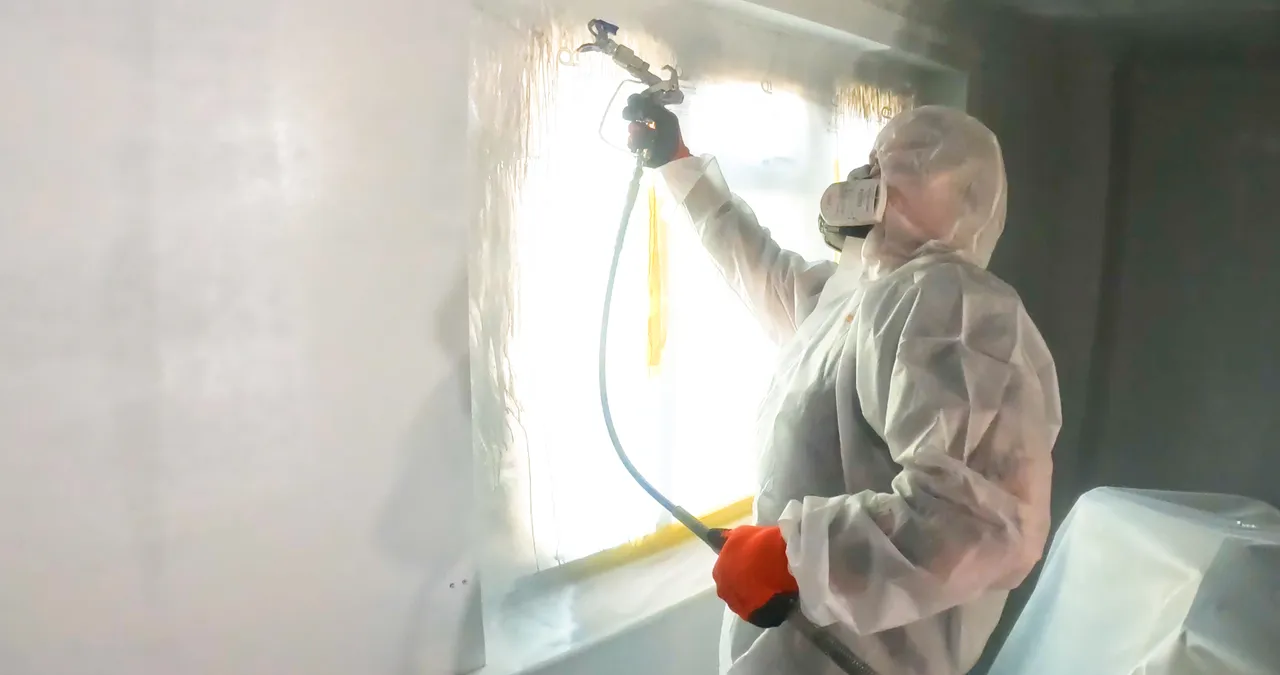 ThermaCote® Being Sprayed Under High Pressure
Preparing Your Walls
- Surface Inspection & Cleaning
- Remove loose paint, plaster, or render until you reach a sound surface.
- Treat any fungal or mould‐infected patches with a biocide wash (if needed).
- Fill cracks wider than 1 mm with a compatible filler (e.g., cementitious or acrylic filler).
- Ensure: Wall is dry (≤ 16 % moisture content) and dust-free.
- Masking & Protection
- Cover windows, door frames, skirting boards, and light fittings with painter’s tape and drop sheets.
- Protect plants and garden features from overspray if working on external elevations.
- Priming (Base Coat)
- Stir Base Coat thoroughly; avoid introducing air.
- Use a high-density foam roller or airless spray (0.021″–0.023″ tip, 1,500–2,000 psi) to apply a uniform 0.5 mm film.
- Allow Base Coat to dry for 2–4 hours (temperature dependent).
Applying ThermaCote®
- Mixing TheramCote®
- Stir the product with 500ml of water until the consistency changes and the ceramic spheres remain evenly suspended.
- If tinting is required, add approved ThermaCote pigment and remix thoroughly.
- First Coat Pass
- Apply the first 0.5 mm layer of Thermacote® exactly like the Base Coat.
- Maintain wet edge to avoid lap marks.
- Dry time: 2- 4 hours (cooler UK weather may lengthen).
- Optional Second Top Coat
- In high‐heat‐loss zones or heat-loss perimeter, a second 0.5 mm Top Coat pass can further improve emissivity and R-value.
- Total coating thickness: 1.0 mm.
- We always check coverage with end-of‐day measurements (at least 500 µm thickness is needed for rated performance).
- Curing
- Avoid washing or painting over the coating for the first 24 hours.
- Full thermal performance is achieved within 48 hours once ceramic microspheres have fused to the substrate.
Note: If you’re unsure which tools we use, see How It Really Works for guidance on why spray yields the most consistent microsphere orientation.